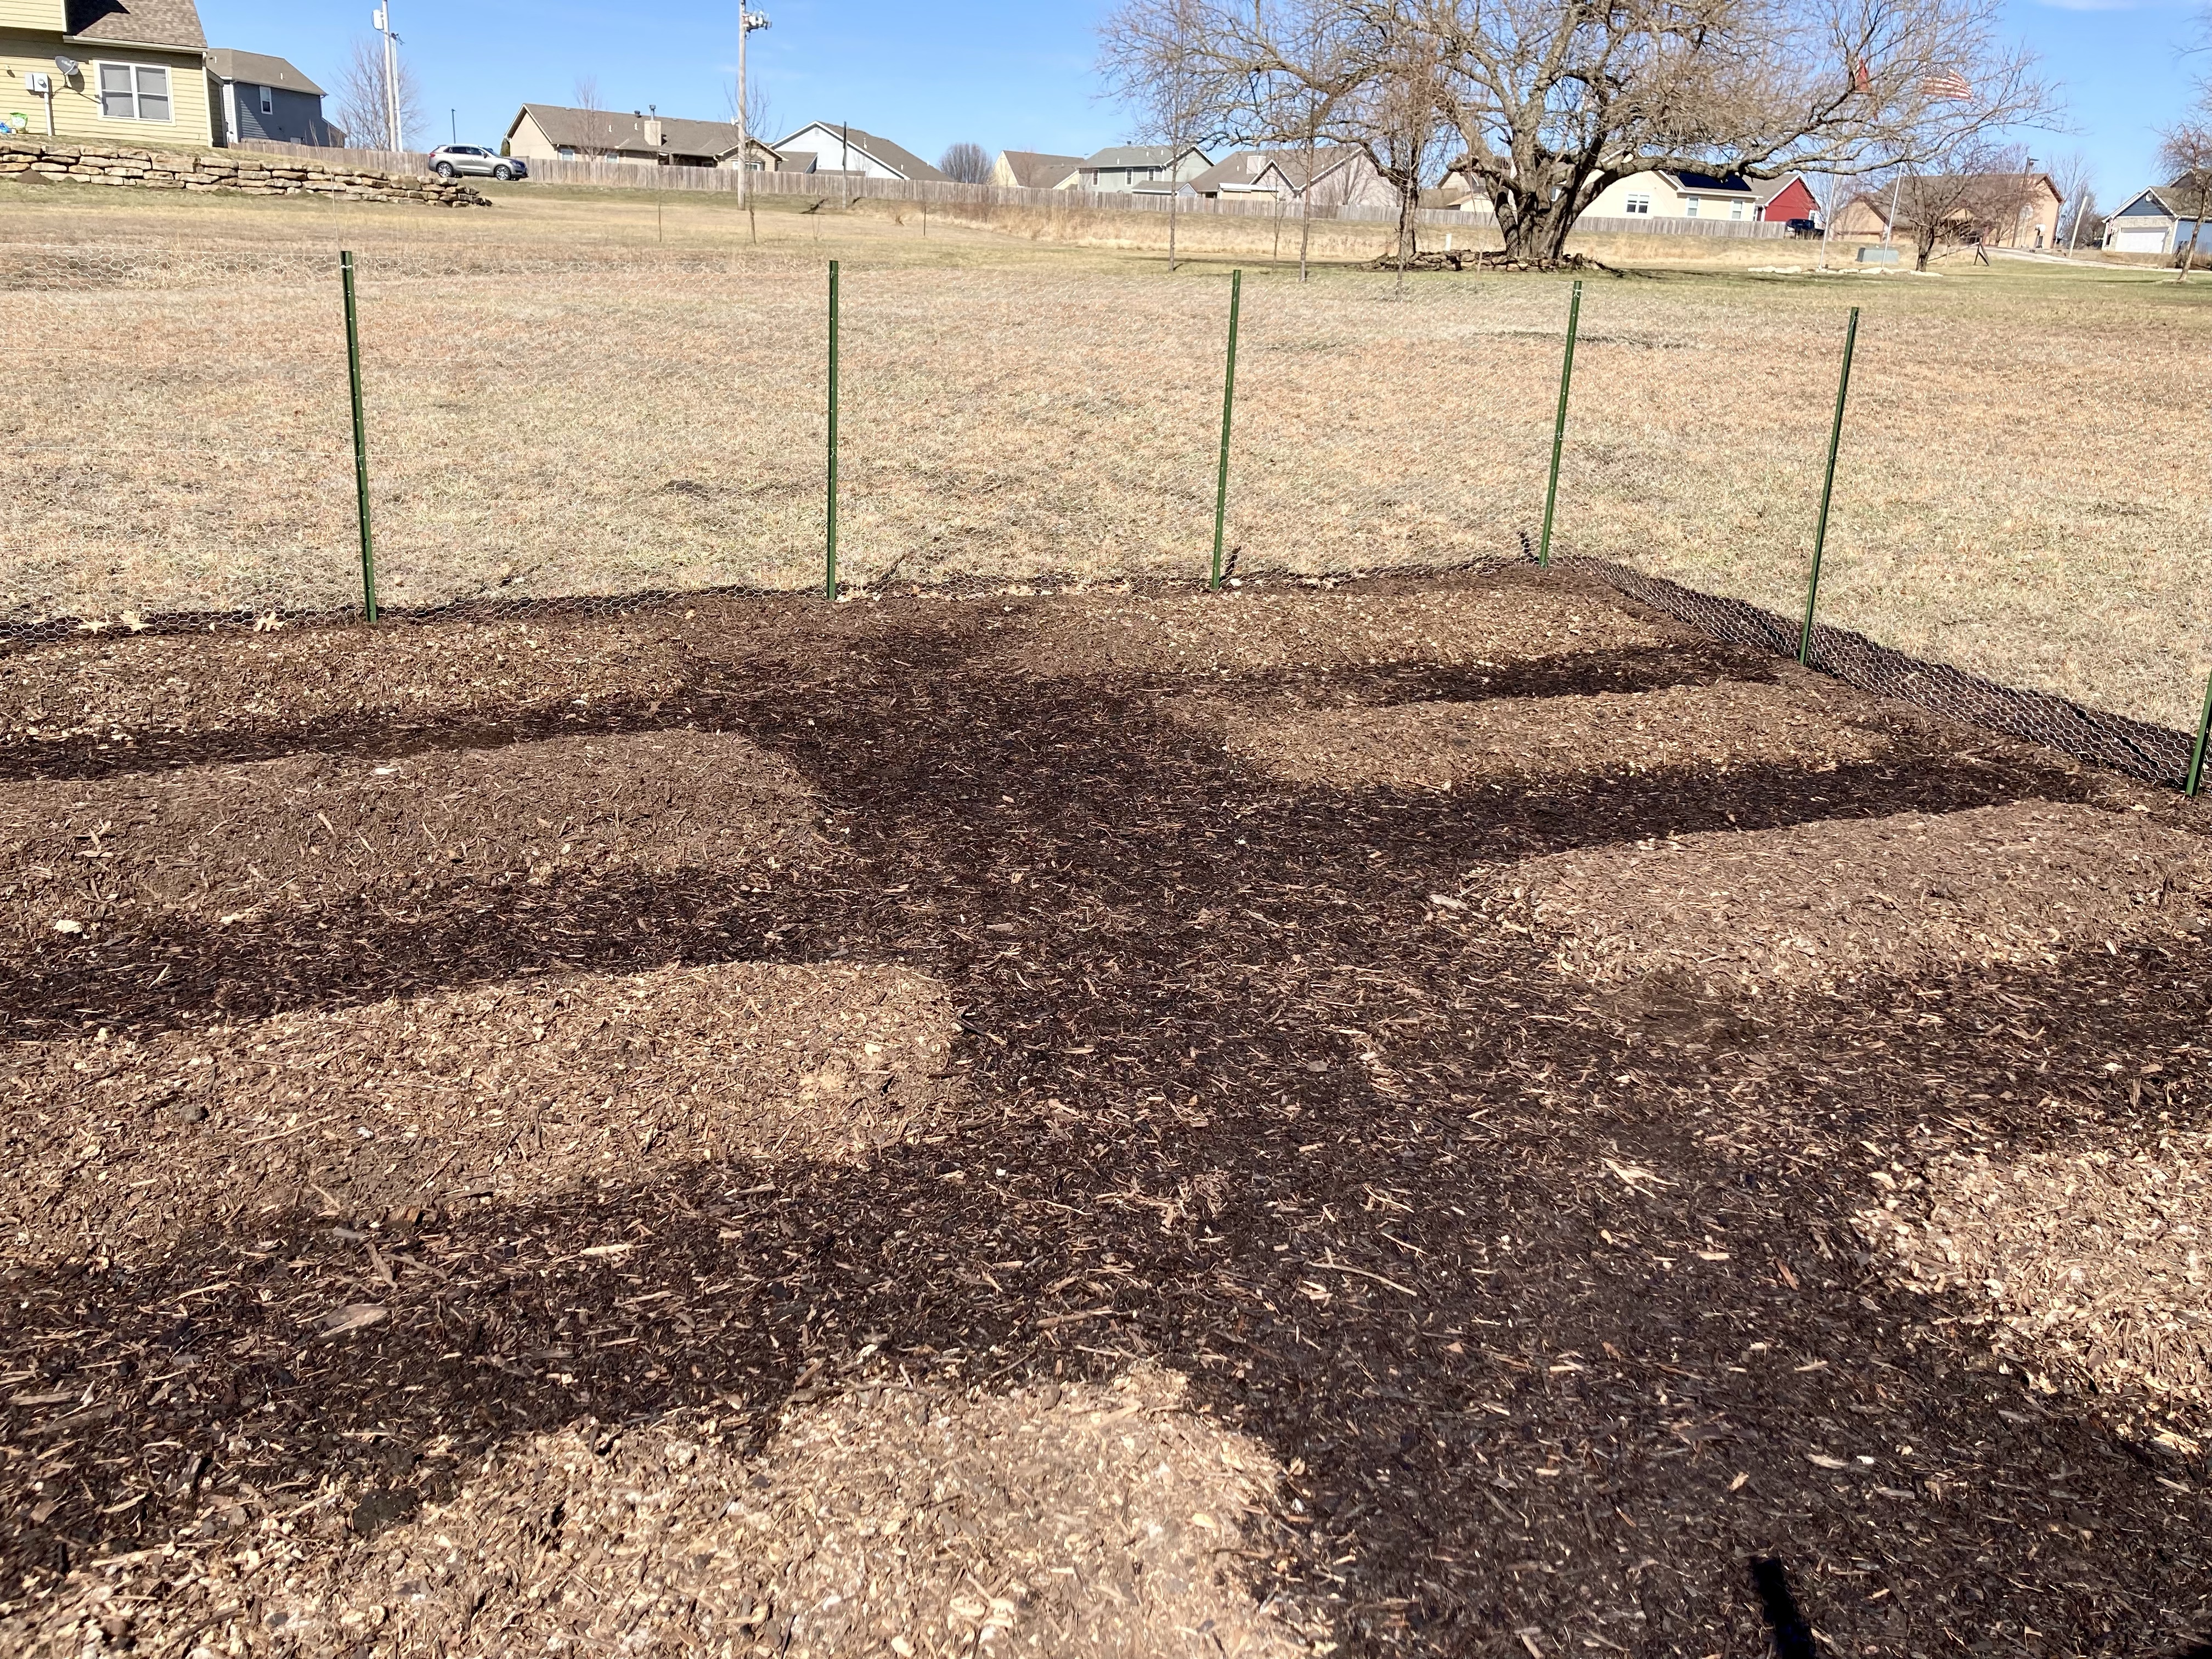
I’m happy to report that the garden is built and ready for planting!
The garden is located behind our house in an open field with a lot of sunshine.
The setup process took a few weeks. We finished a little before St. Paddy’s Day. The perfect time to put potatoes and onions in the ground.

To start, we marked the corners of the garden for a fence.
This took a few attempts to get right. We kept measuring and measuring, but the sides were not equal. We finally realized the corners were not perfect right angles. After using a right-angle ruler, the problem resolved.

Ian hammered t-posts into the corners. These posts are 5-foot tall. We will use 4-foot tall chicken wire as fencing.
Side note: that hammer belonged to my grandpa. It is old, but sturdy! Useful for many projects.

Next, we tied string from corner to corner to mark the perimeter. This helped with lining up the t-posts. Each post is 5 feet apart all the way around, except for the gate area. The gate area is 4-feet wide, which is enough space for a wheelbarrow.

All the t-posts are in! The fence used a total of 17 posts.
No cement base or other permanent fixtures. Since this is our first year, we wanted the fence to be moveable. Just in case the garden needs to change size, or in case the location becomes troublesome.

Adding the chicken wire. This part was a pain in the butt. Chicken wire is cheap fencing and tight-knit enough to keep out bunnies, but it’s also fragile and bendy. We had trouble stretching it straight to tie onto posts.
If doing another fence in the future, I would want a heavier wire. Definitely something with square or rectangle mesh.

A close-up view of the fencing. I hope critters don’t chew their way through. It should keep them out, right?

Next phase: preparing the soil.
Have you heard of the “no-dig” garden method? You put down a layer of cardboard to kill off grass and weeds, then drop compost and mulch directly on top.
All the planting occurs on the top layer of compost. After a few weeks, the cardboard should break down, so plant roots can stretch downward.
I enjoy watching Charles Dowding on YouTube! He is an expert on the “no dig” method and also a great gardener. His videos are entertaining to watch.
We saved boxes from moving last year. It took time to break down the boxes and remove packaging tape (plastic), but what a great way to reuse and put that material back to nature.

Ian staked down the boxes so they wouldn’t blow away. Those are 6-inch U-stakes intended for our irrigation system. The stakes came in big packs, so there was plenty to spare.
The compost and mulch delivery was fun. A dump truck from our local nursery visited our driveway. We ordered two scoops of compost and six scoops of mulch. We laid down a tarp first for easy clean up.
Service was so fast! We purchased and they delivered on the same day.

We covered the compost and mulch with plastic to protect from wind and rain. As mentioned, building the garden took us a couple of weeks. We didn’t want the pile sitting exposed in the meanwhile.

Here’s a view of the pile. It’s a lot! Maybe the size of one parking space? And half the height of my car.

This pic is Ian scooping compost into a lawnmower trailer. Squid supervised the process.
We have a wheelbarrow, too. So we used both the trailer and wheelbarrow to move the compost and mulch to the garden site. We did this slowly over a few days as the cardboard became available.
Our neighbor offered to haul the pile back there with his truck, but we weren’t ready for that yet.

Here’s the garden in progress. Flags and guidelines mark the garden beds. I’d say the mulch is at least 2-inches deep, and the garden beds with compost are at least 6-inches deep.

A view of inside the garden. There are eight garden beds total. The beds are ready for planting!

Ian built this sturdy gate out of 2 x 4 boards. Nice!
He worked hard getting those side posts in. At first we thought a gate could affix to the t-posts, but you would need a thin and light gate for that. Maybe like a metal wire gate.

The finished garden! Ready for spring planting.
We planted onions and potatoes already. Next, we’ll start seeds indoors and assemble the drip-tape irrigation system, but this was plenty of work for now.
I’m happy to see the garden come together!


Leave a Reply